For developers who need to construct websites or online apps, Amazon Lightsail is the simplest way to get started with Amazon Web Services (AWS). It includes everything you need to get your project up and running quickly, such as instances (virtual private servers), container services, managed databases, content delivery network (CDN) distributions, load balancers, SSD-based block storage, static IP addresses, DNS management of registered domains, and resource snapshots (backups), all for a low, predictable monthly fee.
STEPS:
Step 1: Go to AWS Lightsail Console > Create an instance
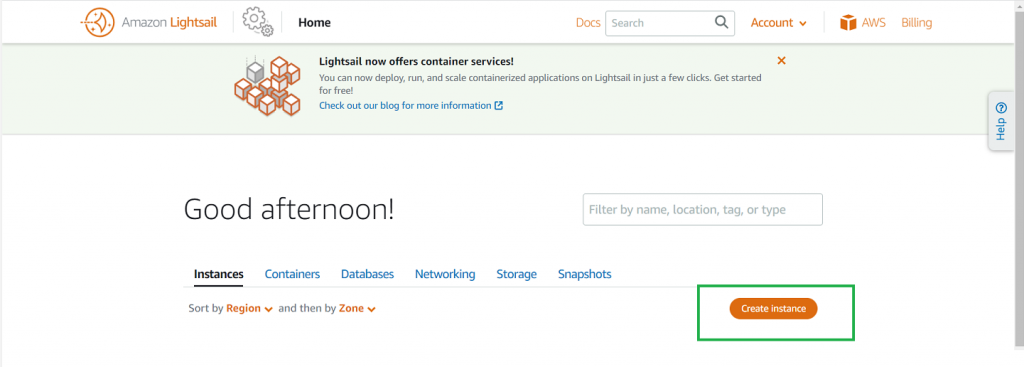
STEP 2: Under ‘Create an instance,’ you can choose whatever platform you prefer.

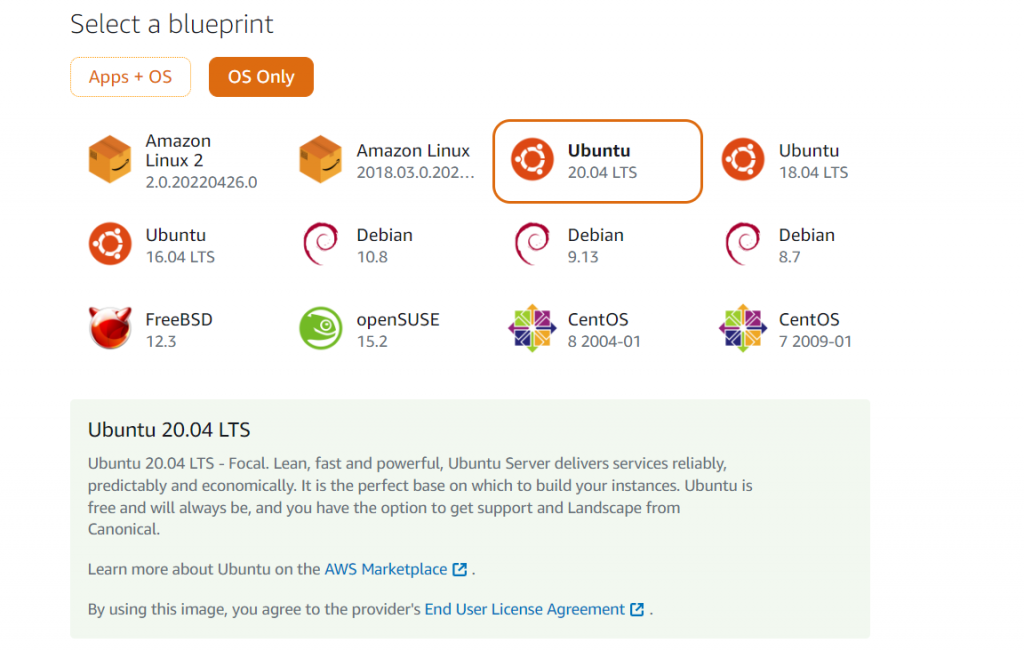
STEP 3: Select a blueprint – you can choose Apps + OS or OS only
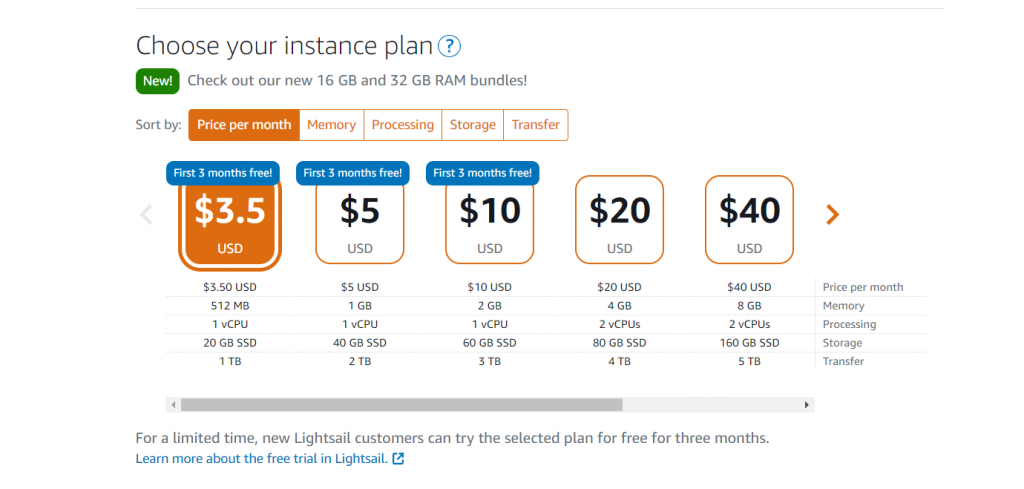
STEP 4: Choose your instance plan – you can choose whatever specifications you prefer.
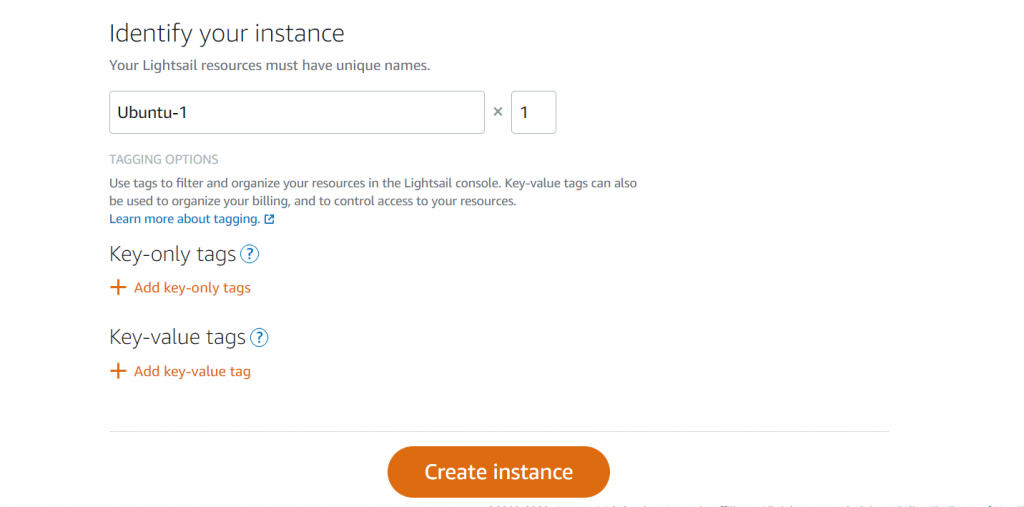
STEP 5: Rename your instance > Create an instance
- After creating an instance, you can now connect to your server via SSH.
- If you’re using the Windows Platform you can connect via RDP.
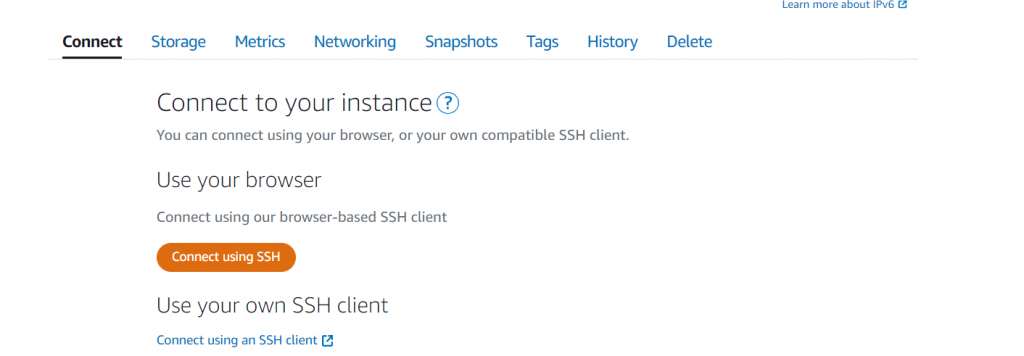
- If you want to access your server on your local machine using ssh, download first the default key –
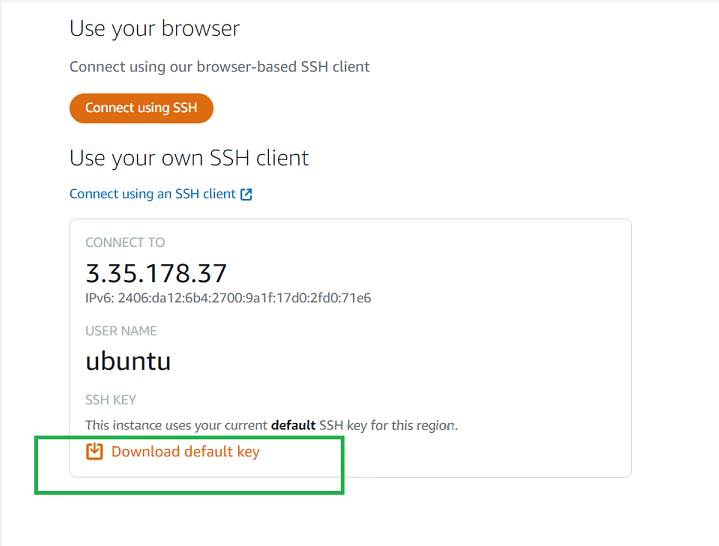
- After downloading, type this command on your CLI –
You may use this command if you’re using Ubuntu.
ssh -i "paste the .pem key here" ubuntu@"IP_Address or Domain_name"
