I recently transferred my domain to a different AWS account. However, despite waiting for the standard 48-hour DNS propagation period, I noticed the changes were not propagating as expected. In this article, we’ll delve into the steps I followed, potential pitfalls, and solutions to ensure a smooth domain transfer process.
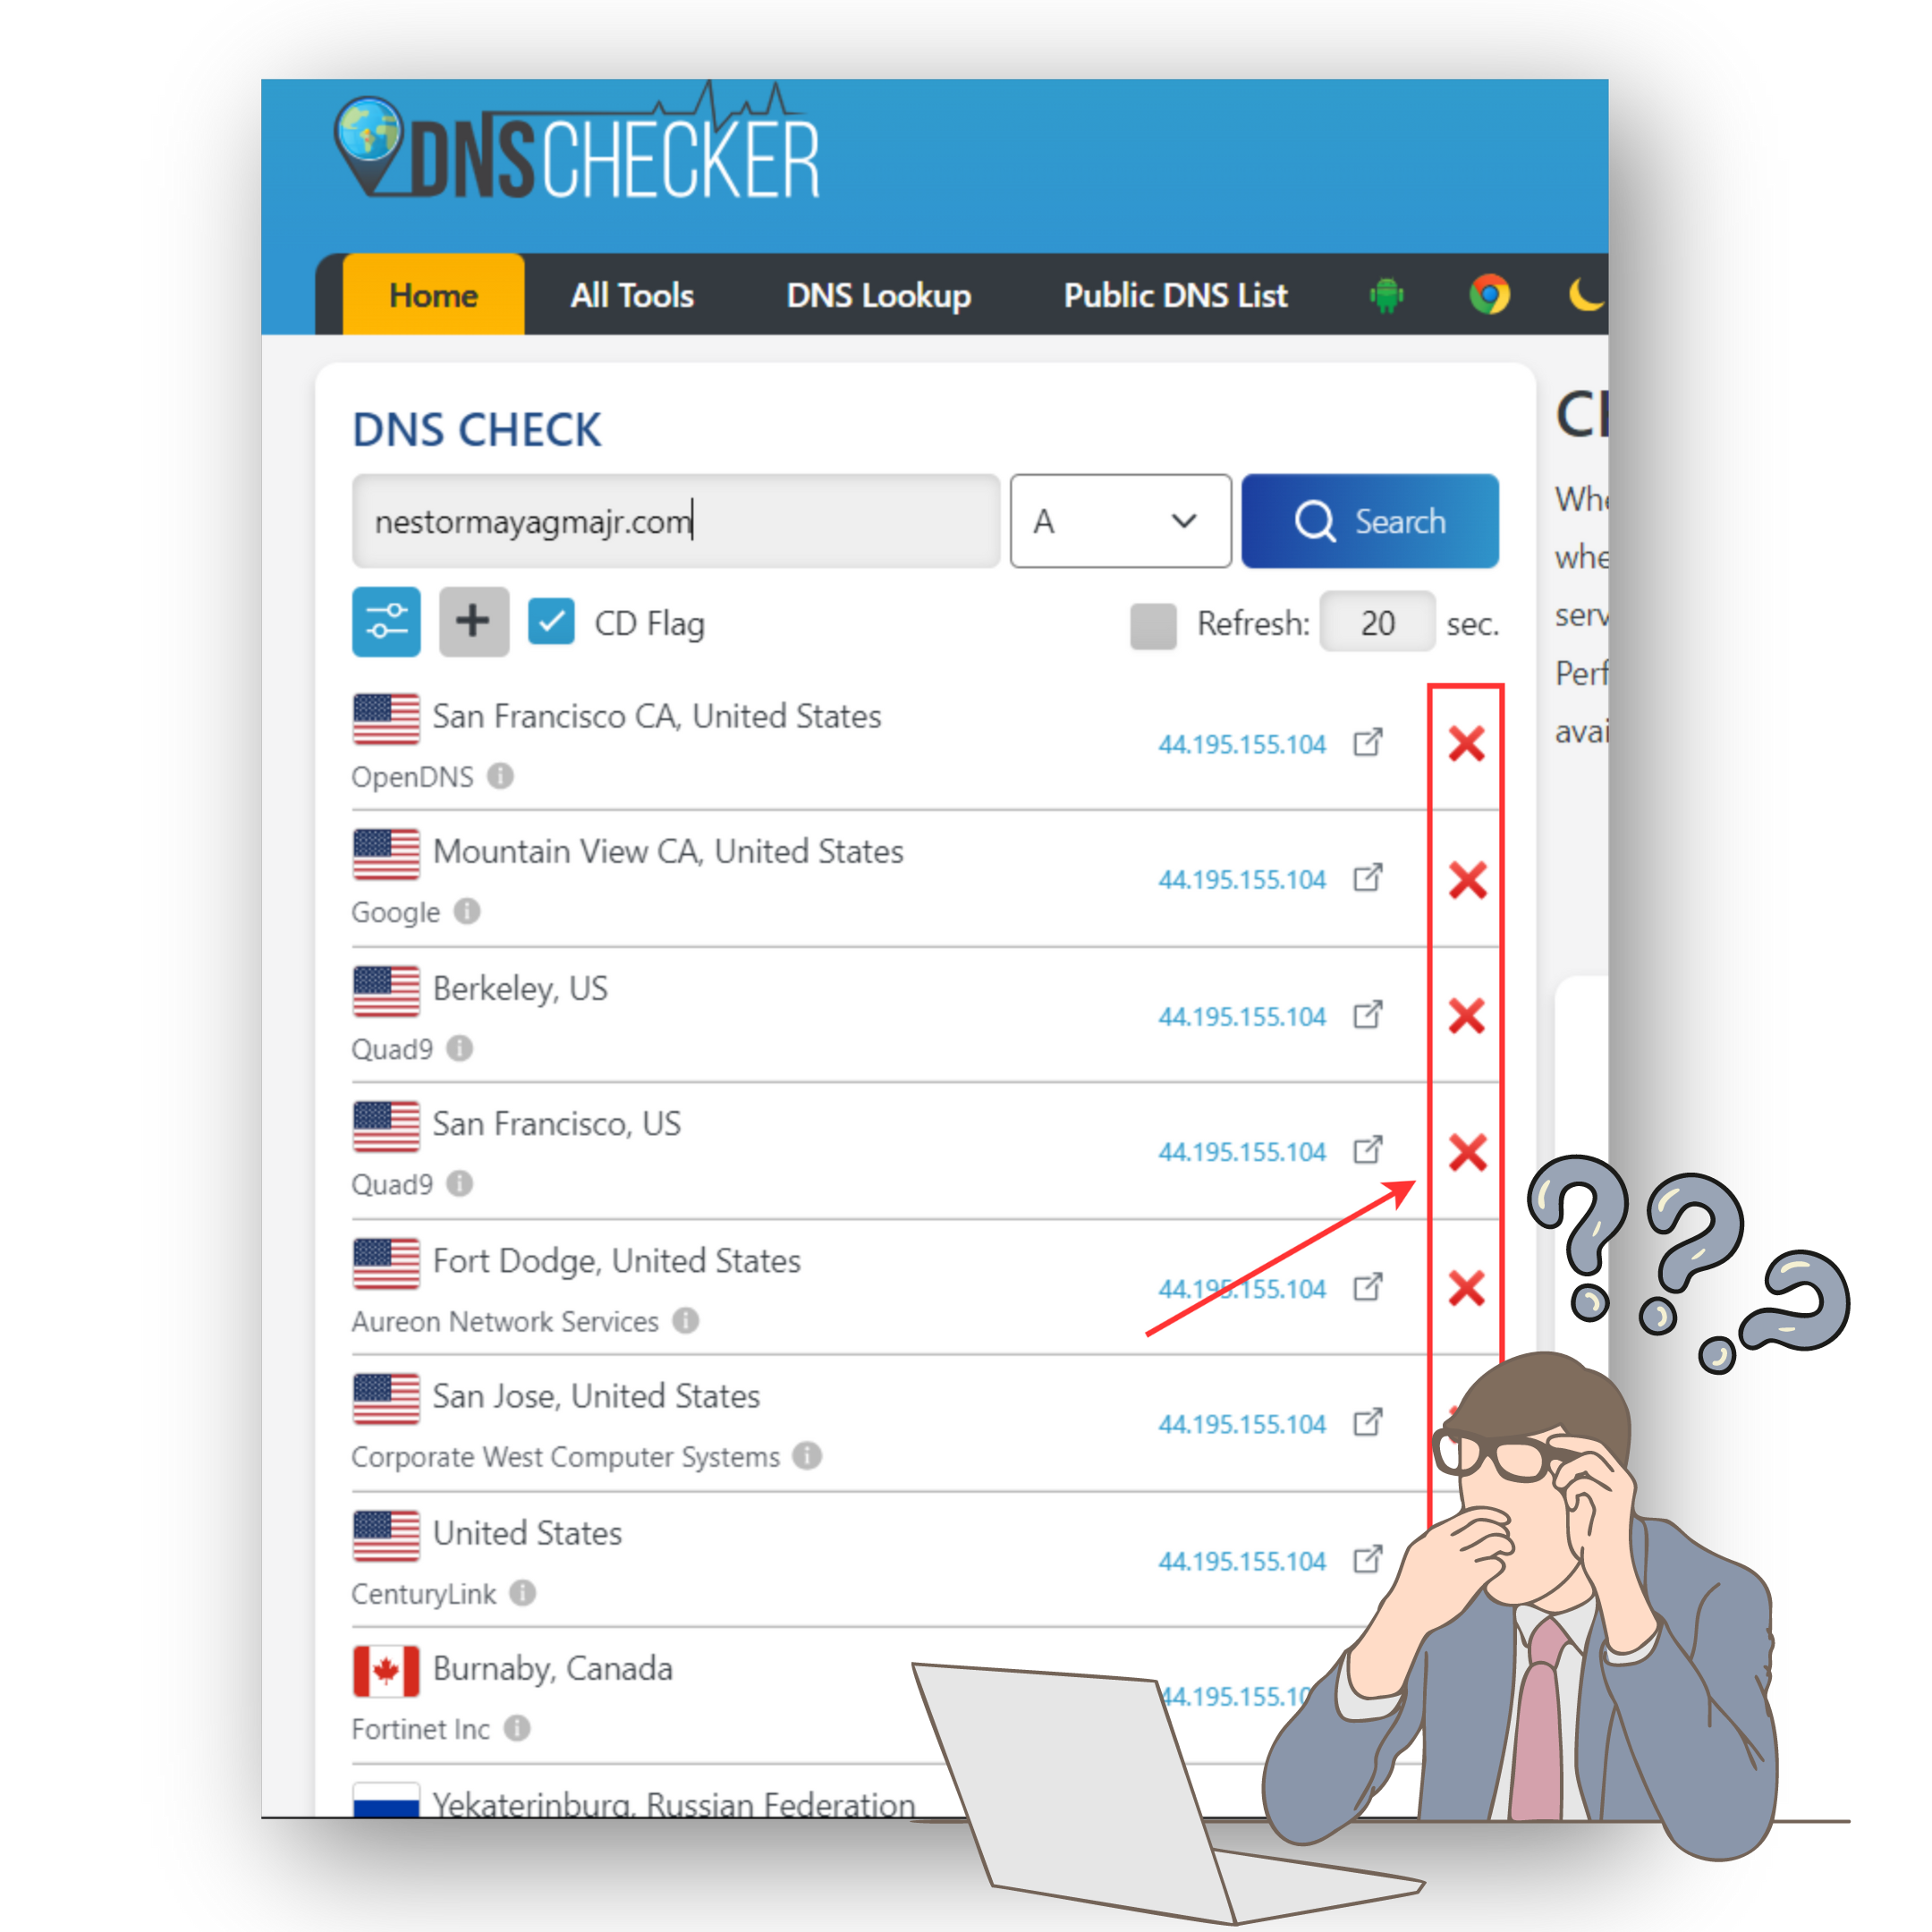
DNS propagation is the process of updating and reflecting changes made to your domain’s DNS records across all DNS servers worldwide. When you make changes to DNS records, for example, updating your domain’s IP address or name servers, these changes need to be communicated to all DNS servers on the internet. DNS propagation refers to the time required for updates to be fully implemented.
Here are the steps I followed:
Steps to Transfer the Domain:
- Initiate the Transfer:
- Logged in to the AWS account where my domain was originally registered.
- Accessed the Route 53 console.
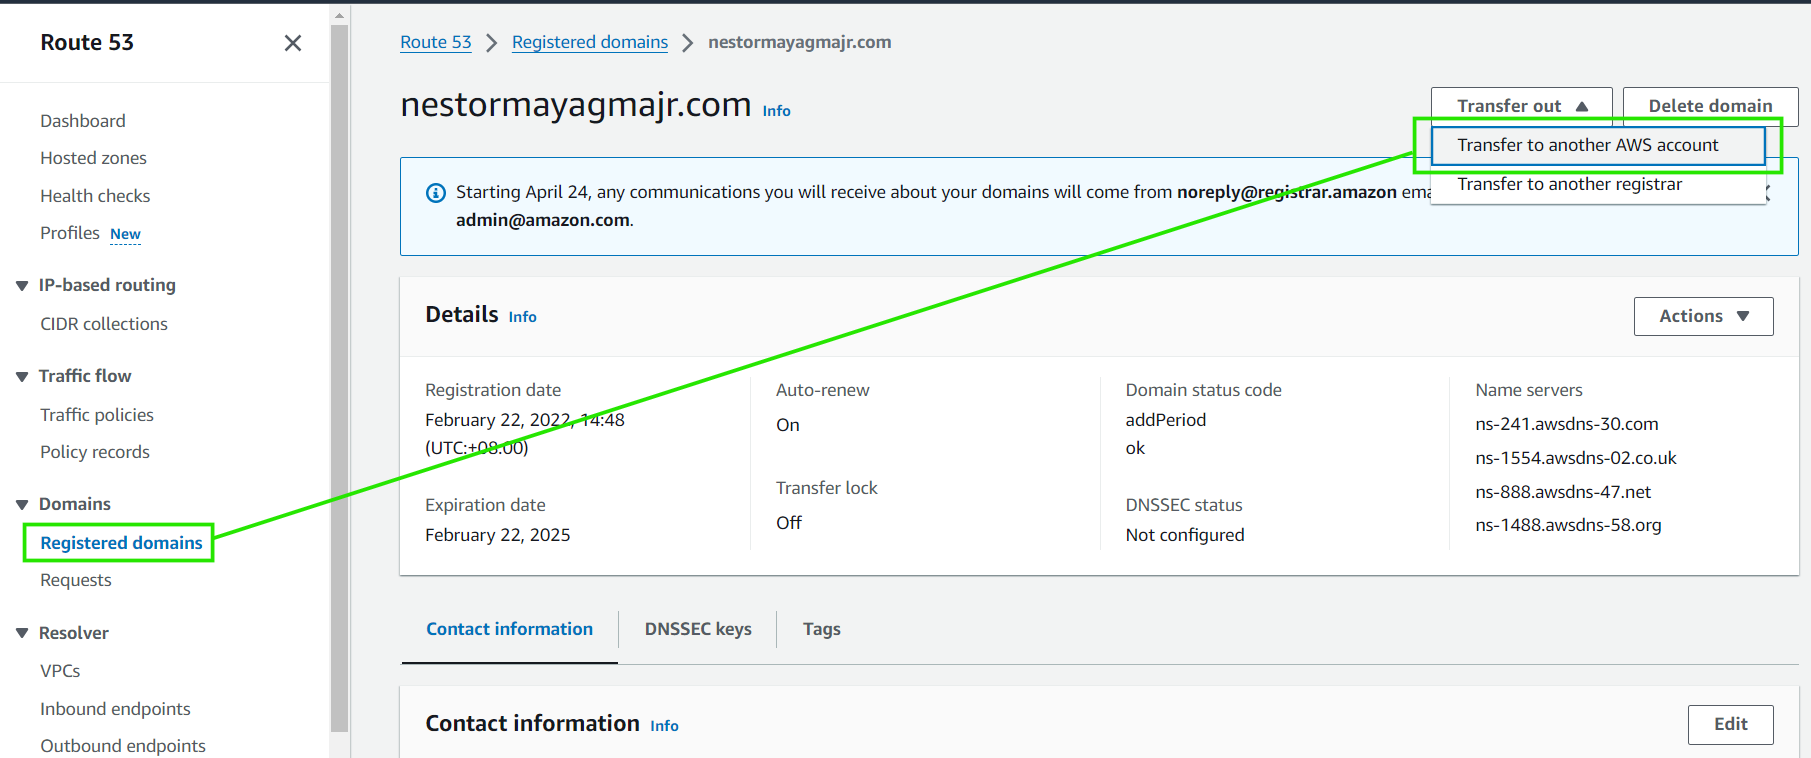
- Navigated to “Registered domains.”
- Selected my domain and clicked “Transfer domain to another AWS account.”
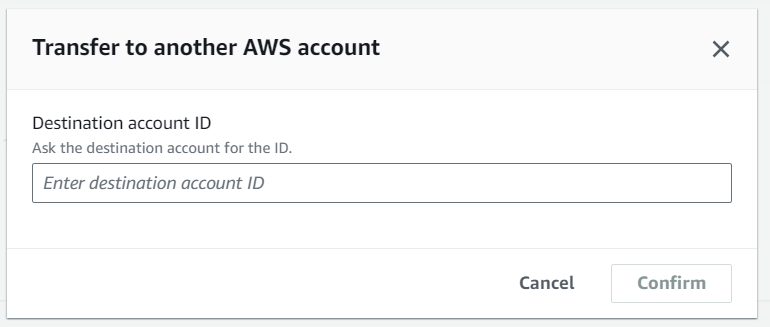
- Entered the destination account ID (provided by the receiving AWS account).
- Clicked “Generate password” and shared it with the new account.
- Accepted the Transfer:
- Switched to the receiving AWS account.
- Opened the Route 53 console.
- Went to “Requests.”
- Selected my domain name.
- Saw the status: “Action required.”
- Clicked “Accept the transfer.”
Potential Pitfalls in Domain Transfer
- Authorization Email Link:
- When transferring a domain to Amazon Route 53, you’ll receive an authorization email containing a link. You must click this link within the specified timeframe (usually 5 to 15 days) to authorize the transfer. Furthermore, the Authorization Email link also occurs when updating your contact information.
- Invalid Authorization Code:
- If you didn’t receive the authorization email or the code is invalid, contact your current registrar for a new authorization code.
- Confirm that the new code is different from the one that caused the error.
- Submit another transfer request using the updated code.
- Name Server Verification:
- After completing the transfer, make sure that the “Name servers” match the DNS addresses in the Hosted zones.
- If they don’t match, update them by clicking “Add or edit name servers” in the Route 53 console.
Solution
Here are the necessary changes that I’ve made to fix the issue:
- Log in to the AWS Account:
- Sign in to the AWS account where your domain is currently registered.
- Open the Route 53 console.
- Navigate to Registered Domains:
- In the Route 53 console, go to “Registered domains.”
- Select Your Domain:
- Choose the domain you recently transferred.

- Choose the domain you recently transferred.
- Check Name Servers:
- Verify that the “Name servers” match the list of DNS addresses in the Hosted zones.
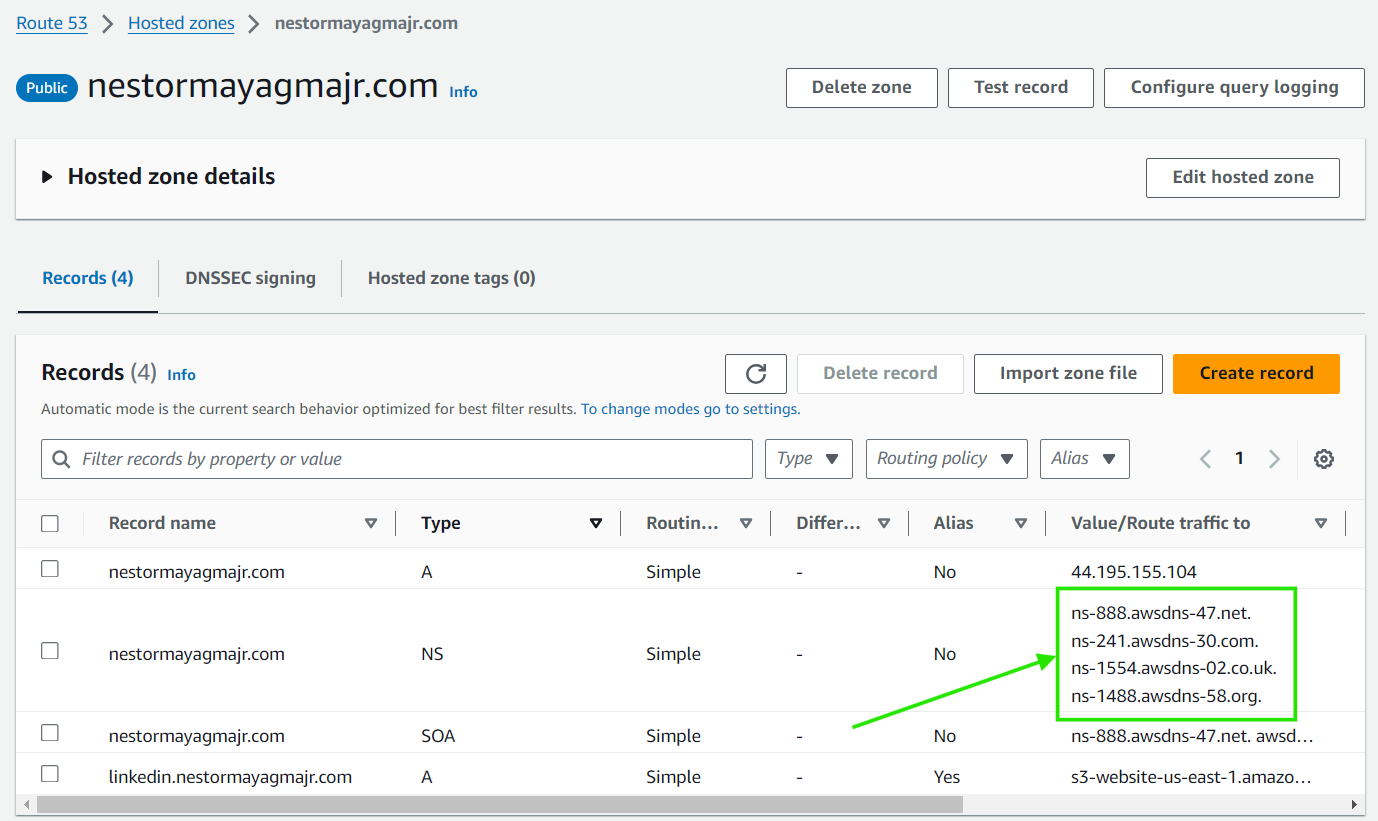
- If they don’t match, click “Add or edit name servers” and update them accordingly.

- Verify that the “Name servers” match the list of DNS addresses in the Hosted zones.
DNS Propagation:
Here are some insights on handling this situation:
- DNS propagation can take up to 48 hours, although it often occurs much faster.
- During this period, DNS records propagate across various servers globally.
- Clearing the local DNS cache or testing from different networks can help monitor propagation status.
- You can use the DNS Propagation Checker to see the status of your domain. https://www.whatsmydns.net/
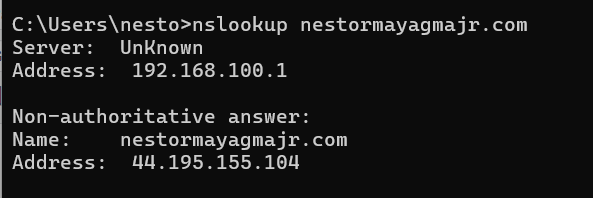
- If you are using Windows, you can check the status of your domain using the nslookup command in cmd.
And there you have it! I sincerely hope this information proves helpful for resolving your domain transfer issues. Hoping for a seamless transition!
